


Giving Great Outlines to Text Using Macromedia Flash
Monday, April 02, 2007 | 10:24 AM

Following are simple steps on applying basic outlines to text through Macromedia Flash.
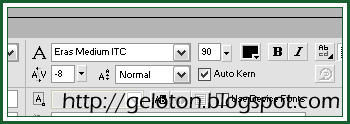
Step 1 After opening a new file in Flash, depending on how you are going to use the image, select a nice font type and size. To illustrate the steps well, I chose Eras Medium ITC at font size 90. I also adjusted the Character Spacing to -8 to give the text a better look.
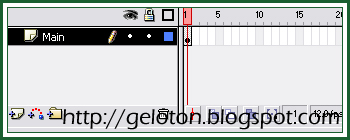
Step 2 Rename Layer 1 as Main, and then type your text.

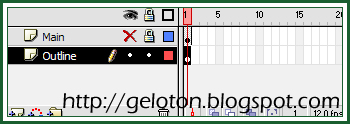
Step 3 Duplicate the Main layer by doing the following: Select the layer you want to copy. On your keyboard, press CTRL+ALT+C or select Edit > Copy Frames. Create a new layer, select it, then press CTRL+ALT+V or select Edit > Paste Frames. Rename the new layer as Outline, and make sure that it is the lower layer. Hide and lock the Main layer for now then go back to the Outline layer.
Step 4 Ungroup your text and rasterize it by pressing CTRL+B on your keyboard twice or selecting Modify > Break Apart twice.

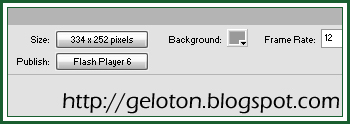
Step 5 Choose the Ink Bottle Tool (S) and set its thickness to 10 on your Property inspector. For the purpose of simplicity, we will use white as the first outline’s Stroke color. Since you will not be able to see this outline using the default Flash background, set the background to a different color, say gray. Apply this to every component of your text, including dots or dashes, etc.

Step 6 To further manipulate this outline, click the Outline layer, then select Modify > Shape > Convert Lines to Fills (this way, you can apply another outline).
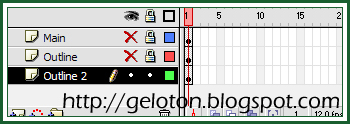
Step 7 Duplicate the Outline layer using Step 3. Instead, rename this new layer as Outline 2, and lock and hide the other two layers. Arrange your layers this way:
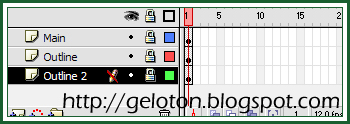
Step 8 Select the Ink Bottle Tool again, then set its thickness to 2 this time. Change the Stroke color to black, in contrast to your first outline. Apply the secondary outline to your text, which already has the white outline.

Step 9 Change the background color back to white, and unhide and lock all of your layers.
You are done! Here are a few other examples for this tutorial. I hope you learned something and enjoyed the experience as well. You may also experiment with other color techniques and different Stroke styles like Dotted, Dashed, etc., and other Stroke thicknesses from the Property inspector.


Labels: Graphics Design

Leave your response.