


Dividing Your Text into Sections with Macromedia Flash
Saturday, April 07, 2007 | 5:37 PM

Learning how to divide your text into sections and manipulating them can help you a lot in many projects that you want to pursue. Following are steps on how to do this, which also include great ideas.
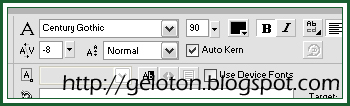
Step 1 After opening a new file in Flash, depending on how you are going to use the image, select a nice font type and size. To illustrate the steps well, I chose bold Century Gothic at font size 90. I also adjusted the Character Spacing to -8 to give the text a better look.
Step 2 Rename Layer 1 as Main, and then type your text.


Step 3 Select your text then hit CTRL+B twice or select Modify > Break Apart twice to rasterize it.

Step 4 Select the Line Tool (N) on the Tools panel then change the color to something that is different from your text. Draw the line above your text then vary the curves the way you want to. For this example, I chose a simple curve.

Step 5 Select the entire line then drag it toward your text, like a divider.

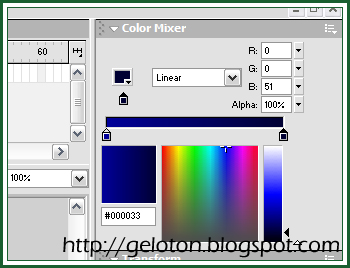
Step 6 Deselect the line by clicking outside the text. On the right, at the Color Mixer panel, select Linear as your gradient type then change the colors to the following: #00FFFF for the left color and #99CCFF for the second color at the right.
Click the Pain Bucket Tool (K) and click on one portion of your text, the drag it downward.


Step 7 Click the Lock Fill button at the bottom of the Tools panel (remember that this button appears only when the Paint Bucket Tool is still selected), then continue applying the gradient to the remaining upper sections of your text. This ensures that the gradient remains uniform or consistent.

Step 8 Repeat steps 6 and 7 for the other half of the text. For this example, I chose for the second set of colors #000099 for the left color and #000033 for the right.
Step 9 Delete the dividing line by double-clicking it and then tapping the Delete or Backspace key on your keyboard.

You’re done! Following are a few other examples. You may also experiment with different gradient angles and colors, and use shapes as your “dividers” in future projects. I hope you learned something from this tutorial.


Labels: Graphics Design

Leave your response.